
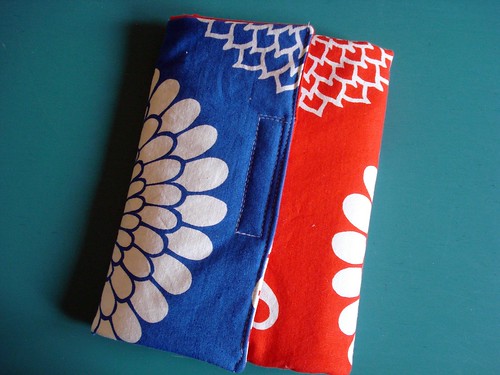
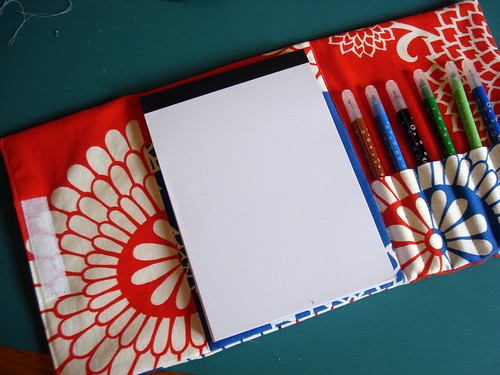
I've made a handful of these lately. I've worked the bugs out of the pattern and am excited to share it with you! This kids' Coloring Travel Pack fits a A5 size pad of paper. Directions assume a 1/4 inch seam allowance. Happy Sewing.
For this project you'll need:
~About 1/3 yard of fabric + a large scrap of coordinating fabric
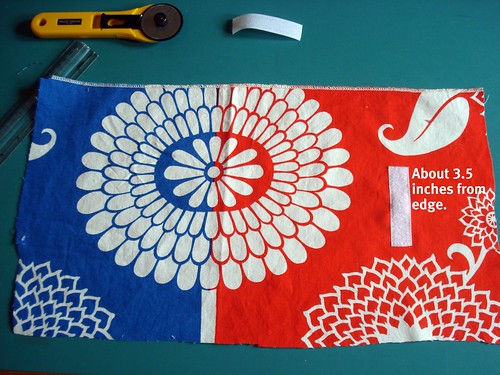
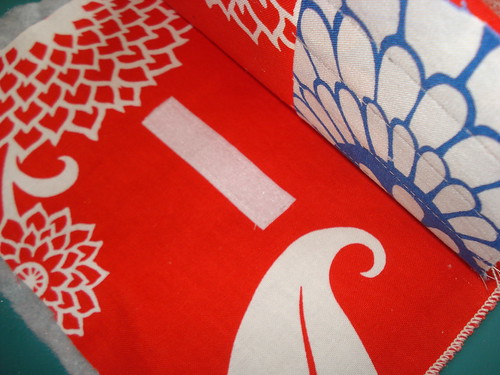
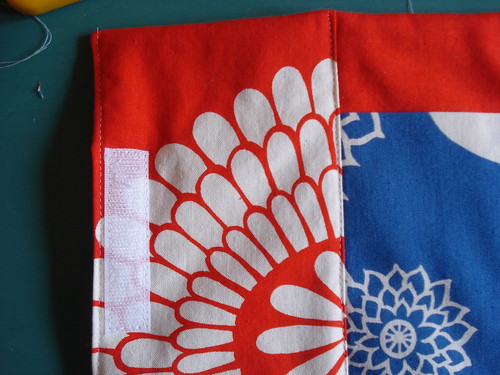
~2.5 inches of sew-on Velcro
~A 20 inch X 11 inch piece of batting (I like a warm and natural type batting)
~ Sewing machine
~ Basic sewing supplies
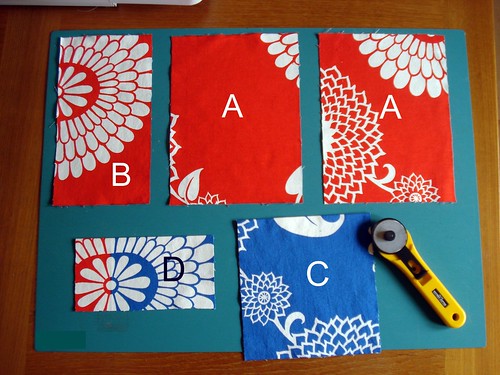
Cut out:
A - 9.5 X 7 inches (cut 2)
B - 9.5 X 5 inches
C - 7.25 X 7 inches (out of your coordinating scrap)
D - 7 X 3.34 inches (out of your coordinating scrap)
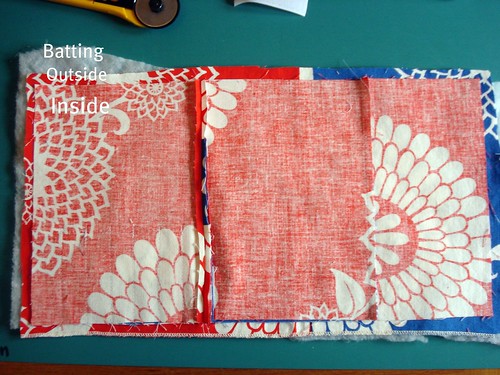
These pieces will combine to form the inside of your travel pack.
For the outside of your travel pack you will need a piece of fabric that is roughly 20 X 11 inches.
Process:
1) Iron 1/4 inch lengthwise on pieces C & D. Top stitch down.
2) Mark piece D, 1.25 inches from each side. From one of lines, continue marking every 1 inch. Use a fabric pencil or chalk.

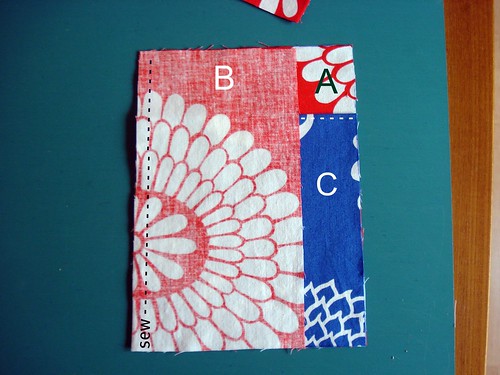


9) Sew all 3 layers together starting at piece B (the flap.) Leave a 3 inch slit for turning.
10) Trim off excess fabric, leaving 1/4 inch.
11) Turn right side out. Take care to push out the corners.
12) Top stitch over B (the flap) to close the slit. Continue to top stitch around the entire piece if desired.
14) Top stitch vertically where travel pack will fold.
Hope it is clearer than mud. If not, leave a comment and I'll try to clarify.


8 comments:
Ha - A5 - I had no idea what the hell that was. I just finished the girl with the dragon tattoo and they kept referring to paper as A4, so now I'm starting to get it - it's one of those little differences. I feel smart again.
great tute!
Our package arrived yesterday. Ebi-kun loves it and has decided it is his bug studying book :o) He also wants me to sew the badge onto a T-shirt because he thinks it looks like a football shirt badge!
Thanks again,
jo
Thank you so much for once more sharing your sewing knowledge with us, you're so talented! I am definitely going to try this project too.
fab. we are having small outings instead of the annual summer party this year... and these are perfect for the limited number of guests we are expecting. just to get the motivation, now...
So wonderfully clear! Thank you for taking the time to write up this tutorial!
I soo want to try this!
It looks tricky, but your tutorial looks really thorough, so mayyyybe I can pull it off. What a fantastic idea. Am in love the fabric choice as well.
Thank you so much for sharing!!
Thank you so much for this tutorial! I just whipped one up and I love it! So easy and the instructions were so clear. Thank you!
PS: I found you via The Crafty Crow. I'm excited to explore your blog!
Thanks for this fab idea, I've just made one for my little girl, you can see it here....http://pinterestchallenge.wordpress.com/2012/01/23/pinterest-challenge-number-3/
Claire x
Post a Comment