Showing posts with label kid projects. Show all posts

Monday, December 19

A Crafty Afternoon

I didn't pull it together this year to host an ornament making party for the girls and their friends. Instead we had a mellow crafting afternoon with a close friend. We organized 3 crafts but due to time constraints we only got to two of them (the girls did the 3rd on later on.)

Christmas Crafts
Tissue Paper
Christmas Crafting
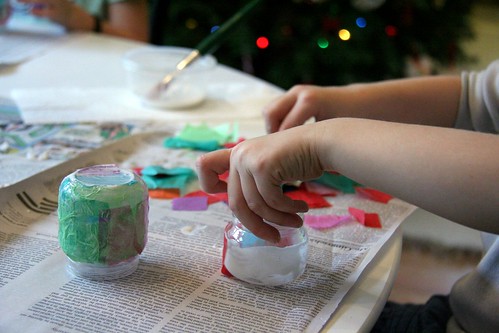
We made tissue paper votive holders
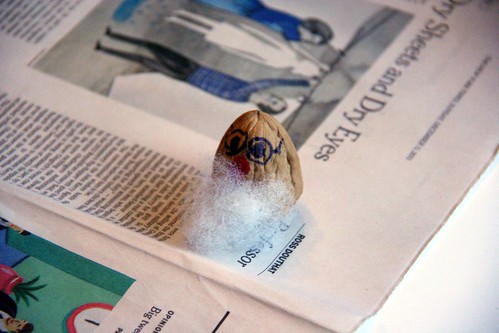
Apple Santa Head
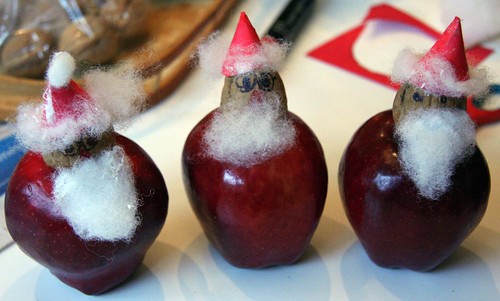
Apple Santas
Apple Santas (these are so adorable! love this craft.)
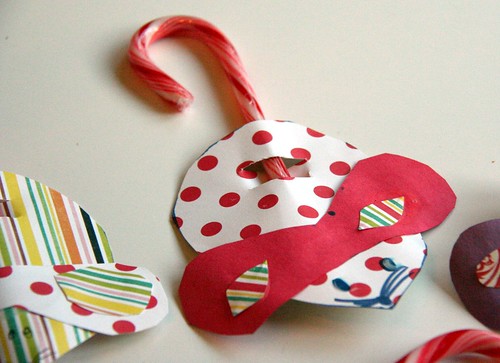
Candy Cane Mice
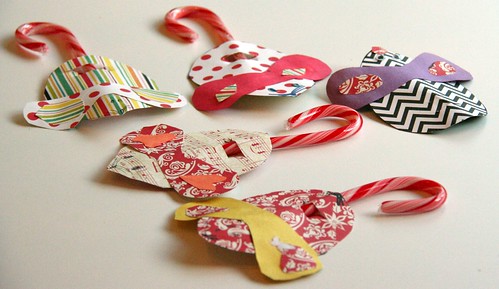
Candy Cane Mouse
Candy cane mice. This was a great craft and would also be a nice gift for kids to give to their friends.

Friday, December 16

More edible gifts

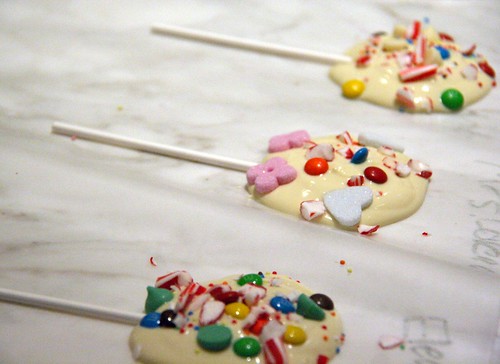
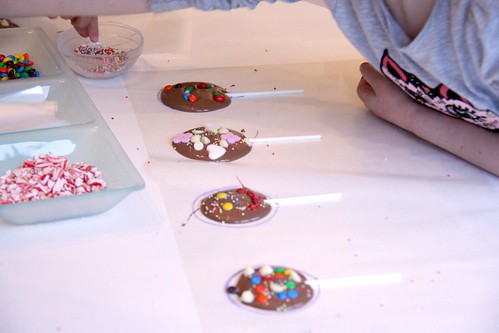
Chocolate Lolli-pops
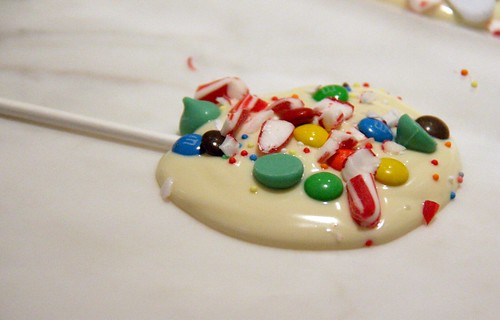
The girls, especially my 7 year old, have gotten into giving gifts this year. It is great to see. Eva wanted to make something for her friends and teachers, naturally Audrey did too. I suggested these chocolate lollipops I'd seen on an Ina Garten cooking show. Both girls thought it would be a fun project and a great gift to give.
chocolate lollipops
For my part in the project, collecting the supplies and getting them organized was easy. I love that. Here's how we did it.
Making chocolate lolli-pops
Materials
chocolate
1-2 lbs of chocolate (depending on how many you want to make. We had 1.5 lbs all together and it made 23 medium-large size lollipops.)

Lollipop sticks - found at any well stocked craft store (I bought ours at Joann's)

Plastic bags to put over the lollipops (again at Joann's)
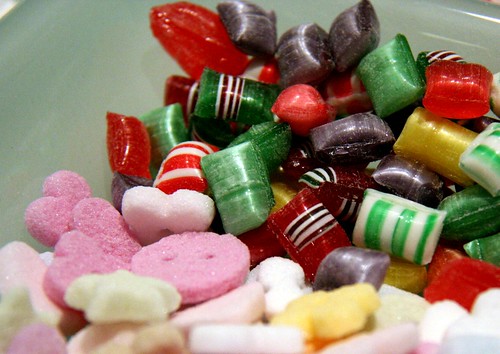
candies
candies
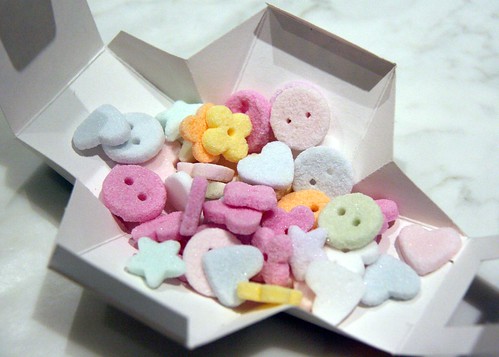
sugars from Paris
Assorted candies, nuts, dried fruit to decorate the lollipops

Bakers twine or ribbon (to tie the bag to the lollipop stick)

Wax paper

Method

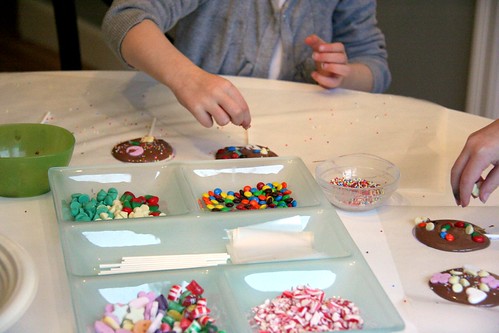
Put candies, nuts etc in little bowls, place sticks near by work space. Rip off a longish sheet of wax paper, about 24 inches.

Melt chocolate in the microwave or over a double boiler. If you use the microwave (I did!) be very careful not to burn your chocolate. I put it in for 1 minute, stirred and then put it in for 45 second more and it was perfect.

Chop your chocolate into smallish pieces and melt.

Using a tablespoon, pour chocolate onto wax paper. I originally drew circles onto the wax paper but discovered this is not necessary with only 1T* or so of chocolate. If chocolate is especially runny let it cool a bit until it becomes thicker.

Immediately after pouring the chocolate, place a lollipop stick in it. Turn the stick so it is coated on all sides.

Decorate with assorted goodies

Let harden for 2 hours or so (faster in the fridge)

Place in lollipop bags and tie with twine!

Give!!
lollipop
*you may be tempted to use more than 1 T of chocolate like I was and did. Stop yourself. This makes lollipops that are too big. Most of ours didn't fit into the bags I bought. 1T is a perfect size - enough to be a special treat but not obnoxious.

Tuesday, October 18

Halloweening

photo
I have 2 little girls who have been chopping at the bit (aka harassing their mother) to decorate for Halloween.  Decorating for Halloween is really something we've never done.  Since Halloween isn't celebrated in Luxembourg it made no sense to decorate there and before then, well, it just wasn't in me.  To be fair I still don't really think Halloween decorating is in me.  But with my girls so into it and so vocal about being into it I had to make it happen.

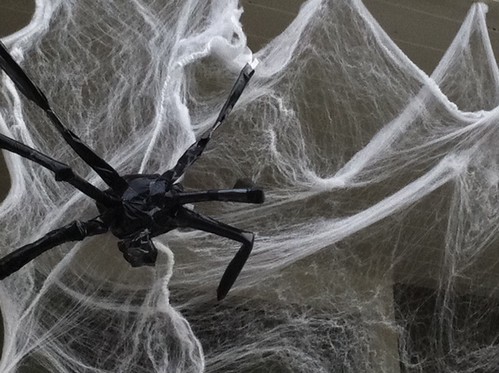
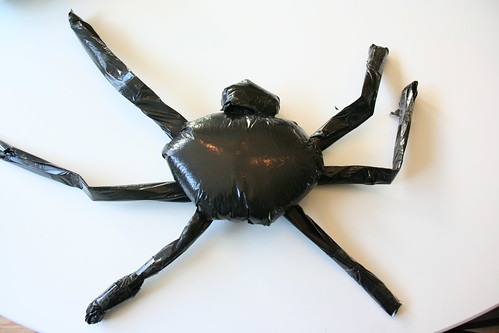
We hung a giant spider web on the front porch and made big, black spiders to hang on the web.  We added a garland of ghosts (made from plastic bags) and our pumpkins from the patch and I do think our house is looking festive and spooky indeed.

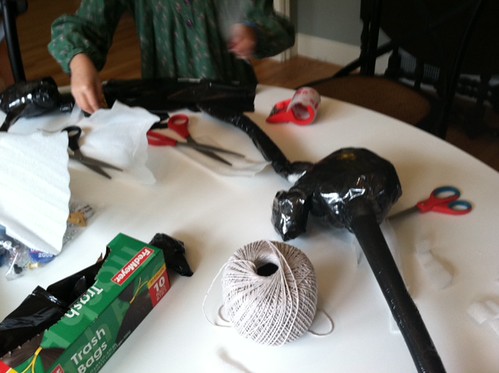
Here is how we made our big spiders.  They are nice and light so they don't pull your web down.
IMG_4226
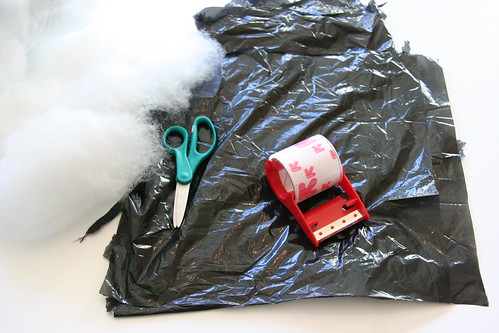
Materials:
Large black plastic garbage bag
Clear packing tape
Stuffing (you could also use crumpled newspaper or old packing material)
Paper or newspaper
Scissors

Step 1:
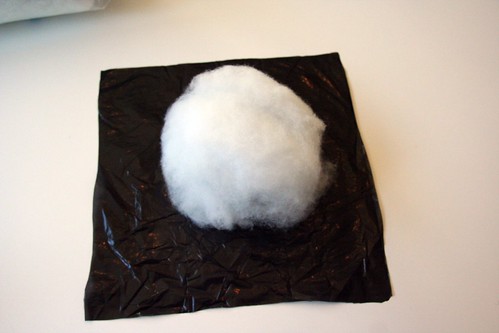
Cut a rough 12X12 inch square from your garbage bag.
Garbage bag spider IMG_4229
Step 2:
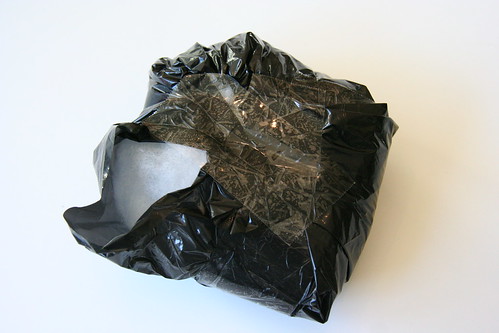
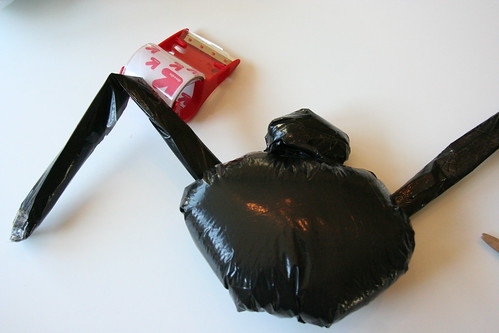
Put a handful of stuffing in the middle of the square.  Pull up the edges of the garbage bag around your stuffing and secure with packing tape. This will be your spider's body. 
Garbage bag spider
Step 3:
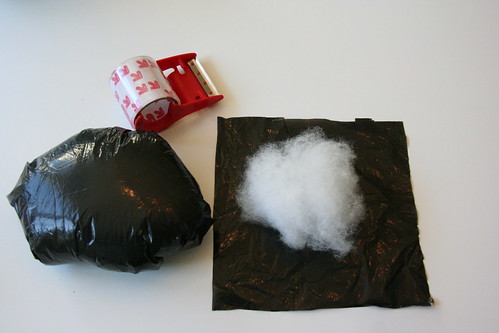
Cut a rough 5X5 inch square from your garbage bag. Repeat Step 2 with this square.  This will be your spider's head.
Step 4:
Attach the head to the body with packing tape.
Step 5: 
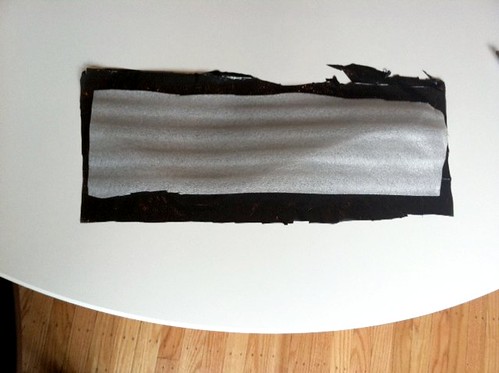
Cut a rough rectangle from your garbage bag of about 12X4 inches.
Spider Legs  
Step 6:
Cut a piece of paper slightly smaller than your rectangle.  Place the paper on top of your garbage bag rectangle.
Step 7:
Roll the paper and garbage bag together.  Secure the end with packing tape. This will be one of your spider's legs.
Step 8:
Repeat steps 5-7 until you have the desired amount of legs. Although spiders have 8 legs we felt that 6 (and four in one case) were enough.  
garbage bag spider
Step 9:
Attach to spider web with packing tape.
Garbage bag spider
photo

Halloween Posts from Previous Years:

Jack-o-lantern shirts to DYE for
Spooky Food
Halloween Picture Book
Kool-aid Cupcakes
 Halloween Brownie Bites
Noodle Necklaces
Craft Stick Mummies 
Tootsie Pop Ghosts

Friday, July 8

To Say Goodbye

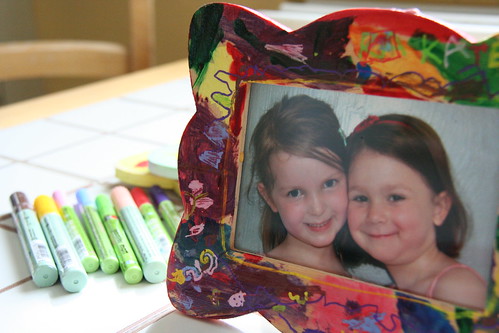
picture frame
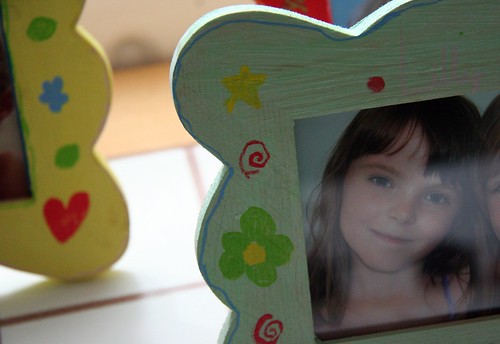
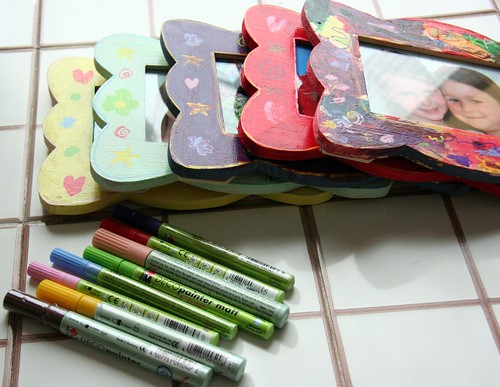
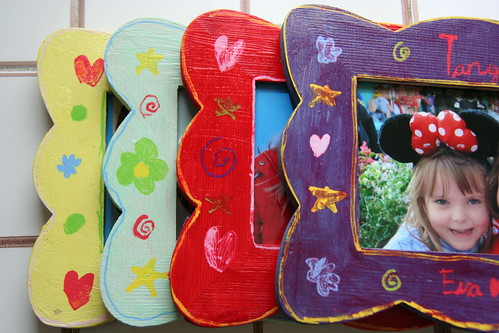
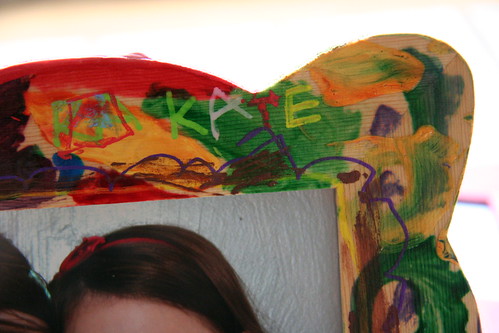
The girls worked hard on these goodbye presents for their friends. First they painted their frames using one color (not Audrey, she characteristically did it her way!) Next they added detail with paint pens. Lastly we covered the frames with modpodge to add shine and make them look more finished. The trickiest part of this project was remembering my camera so I could get a picture of the girls and their friends!
frames
The girls are very proud of these. Now we're waiting for the perfect time to give them.
picture frames
picture frames
picture frame

Tuesday, June 14

Time with Grandma

book
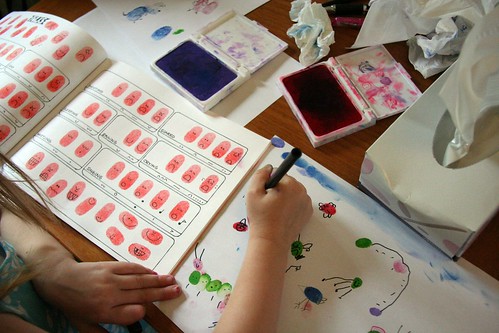
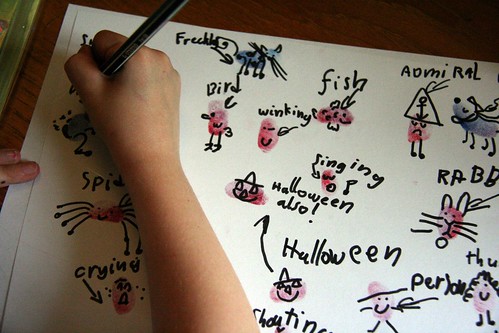
Just like she did on her last visit, my mom brought a project to share with the girls. Last time it was the calafant castle. This time it was Ed Emberley's Great Thumbprint Book. The 3 of them sat together and had a ball making cute little thumbprint doodles.
Thumbprint Book
thumbprint book

Thursday, March 17

These are not Leprechauns

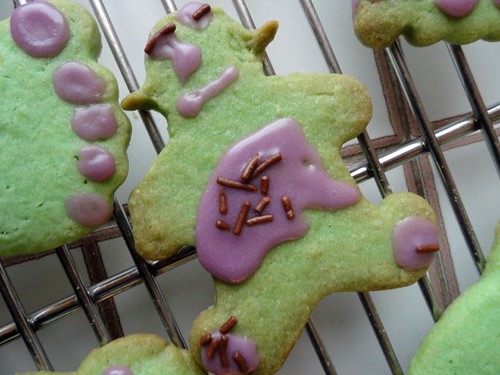
Goblin Cookie
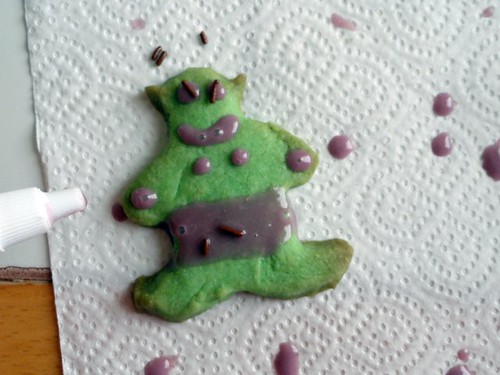
They are goblins. That's right, goblins. From the Rainbow Magic book series, of course. I thought we were knee-deep in Rainbow Magic months ago but now were entrenched, totally entrenched! Now, allowance money is spent on more books, books are swapped among friends (I love this!) and personalized shirts make the "it" outfit.
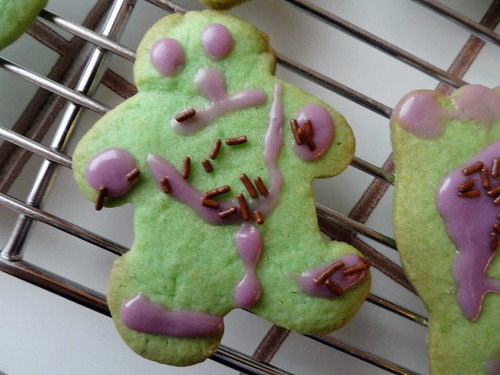
Goblin Cookies
For those of you unfamiliar with the Rainbow Magic books (lucky you) goblins are the villains in the stories. They steal things from the fairies and wreak general havoc in Fairyland. Bad guys I tell ya.
Goblin Cookies
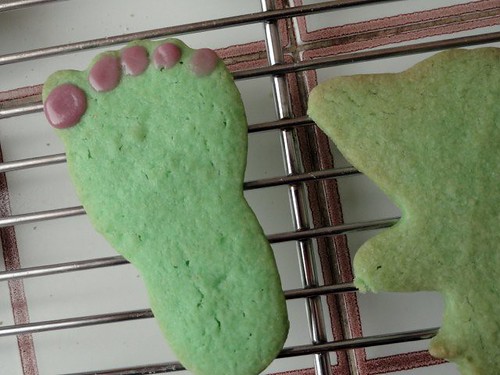
The idea for the goblin cookies was found in the 2011 Rainbow Magic Annual* (which was a 7th birthday gift from a friend.) Since receiving the Annual Eva has been desperate to make these cookies. Due to my dislike of making roll-out cookies I kept making excuses and putting it off. Eva thought a play date would be just the time to finally give them a go. After seeing Lisa's post about easy sugar cookies I agreed.
Goblin foot
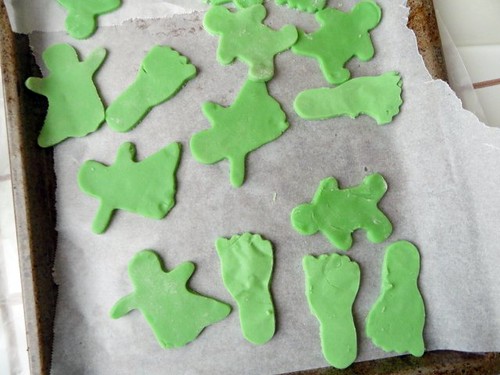
The girls had a wonderful time. It really was fun. And quite easy too. I cut the sugar cookie recipe in half. I rolled the dough out in between wax paper the night before and left it in the fridge. The girls cut out the cookies and decorated them the next day.
Goblin Cookies
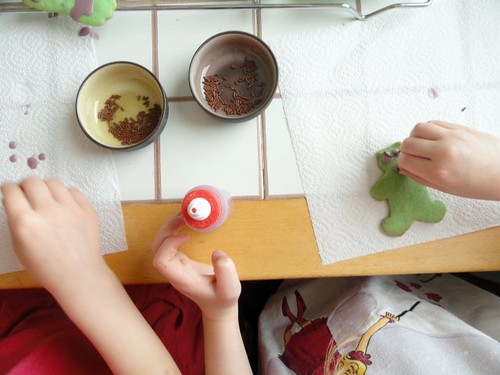
The squeeze bottles worked really well for the purple icing (just milk and powdered sugar.) In addition to goblins (aka small gingerbread men) the girls also made goblin feet and ghosts. I think all 3 girls enjoyed the activity and I *know* they loved eating it!
goblin cookie
* An annual is a book with puzzles, little stories & poems, and craft ideas. I think they are popular in the UK.
Goblin Cookies
Happy St. Patrick's Day, btw!

Monday, December 20

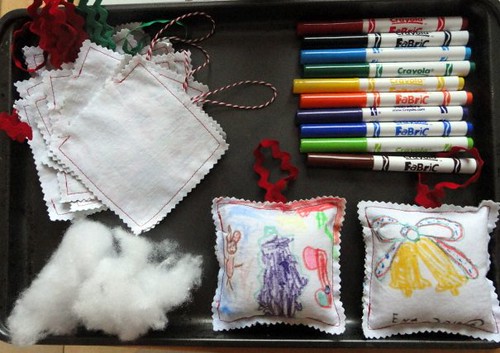
Child Drawn Christmas Ornaments

Child Drawn Christmas Ornaments
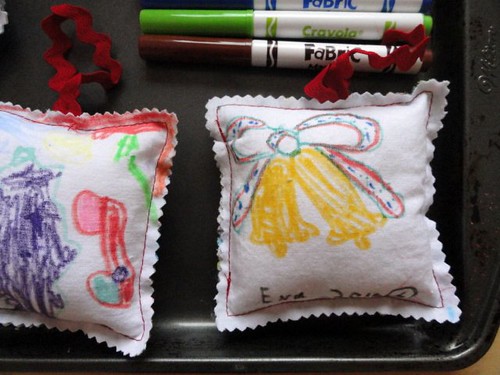
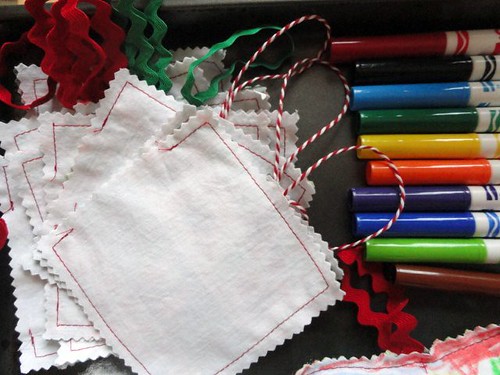
I love these ornaments! I hope you do too. So simple to make and backed in darling Japanese Christmas fabric. I cut the fabric into 4.5 inch squares, sewed almost around the perimeter (1/4 of an inch away from the edge,) tucked in a bit of trim for the hanger, left an opening for stuffing and then let the kids have at it. Oh, I cut the edges with pinking shears since they were unfinished.

After the kids were finished with their drawing and stuffing I quickly sewed up the opening on the sewing machine. Easy peasey lemon squeezey.

Child Drawn Ornaments

Materials:
White cotton fabric
Totally cute backing fabric (or any piece will do)
poly-fill aka stuffing
Random bits of trim
Pinking Shears
fabric markers

Child Drawn Christmas Ornaments
We were able to have our ornament party today! I'll post a few pictures as well as some helpful hints about hosting one.

Sunday, December 19

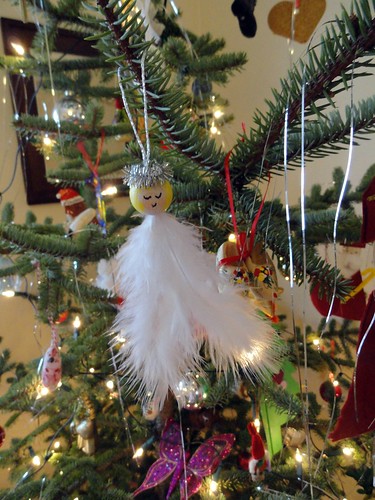
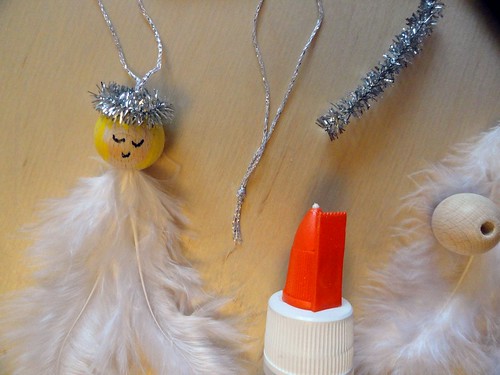
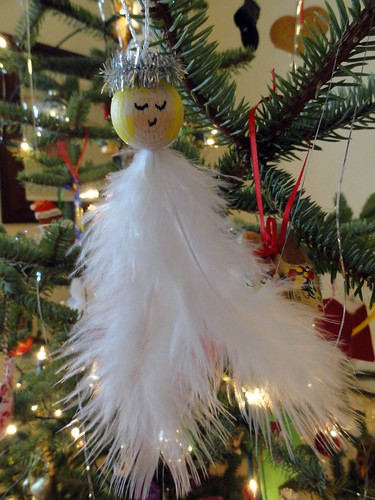
Feathery Angel Ornaments

Feathery Angel Ornament

These ornaments were inspired by some made by Kathe Wohlfahrt that I saw at the Cologne Christmas Market. We went to Cologne last weekend and had an absolutely wonderful time. I've been meaning to tell you about it. Unfortunately, my pictures were a terrible disappointment so I've been putting it off. Anyhoo, these sweet little angels are a breeze to make and will add a bit of charm to your Christmas tree.

We're going to make these at the ornament party. They are the most advanced (have the most steps) of the ornaments we're going to make. They are much simpler to make than the Doily Angels I shared with you a few years ago, though.

Here are the directions in case you'd like to make some too.

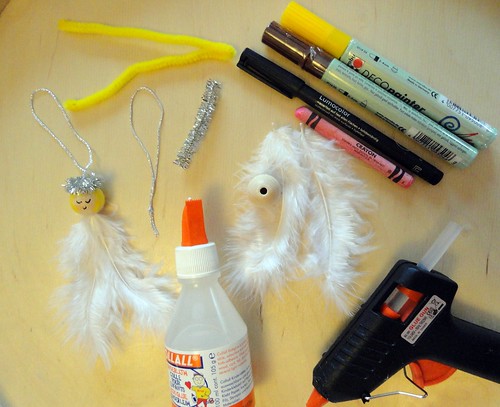
Feathery Angel Ornament Supplies
Materials:
20mm wooden beads. Be sure to buy ones with 2 holes in them.
white feathers - short ones or medium (about 6 inches) ones
Silver pipe cleaners cut into 2.5 inch pieces
String for the hanger, I used silver crochet thread
Paint Pens
Fine black marker
Pink Crayon
10 inch piece of pipe cleaner (any color) folded in half
Glue (glue gun or strong craft glue)

Feathery Angel Ornament
To paint the face and hair
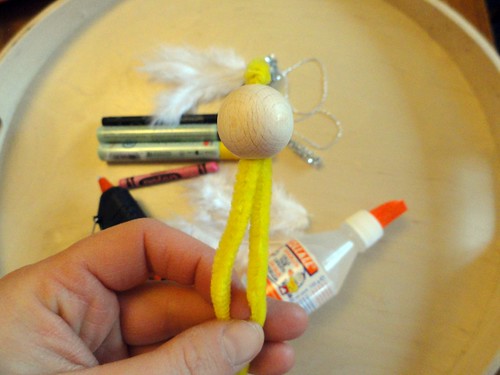
Step 1:Put the folded end of your 10 inch pipe cleaner into the hole of a wooden bead. Hold onto the pipe cleaners while you create the angel's face.
Step 2: Create the angel's face. Use paint pen for the hair, a fine marker for the face, and pink crayon for the cheeks.
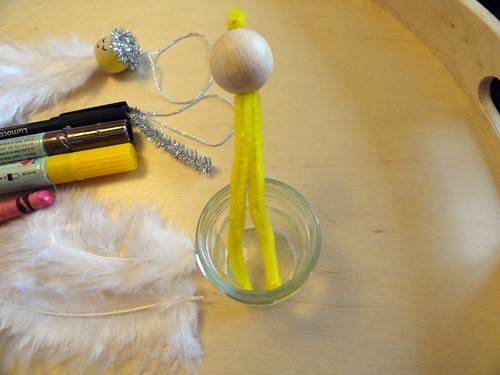
Letting the head dry
Step 3: Let your angel face dry. You can set it in a jar or glass.
Step 4: Bend silver pipe cleaner into a circle. Glue it onto your angel's head for a halo.
Step 5: Squirt glue into the bottom hole of your angel's head. Place two feathers in the hole with the glue.
Step 6: Take 7 inches of string, fold it in half and knot it. This will be the hanger for your ornament.
Step 7. Squirt glue into the hole on top of your angel's head being careful of the halo.
Step 8: With a pin push the knot of your hanger into the glue filled hole.
Step 9: Let dry!
Feathery Angel Ornament

I tried the pasta angels last night and found they are too difficult to glue. The pasta will hole with hot glue, but that is not practical for a party of 8 young girls. So I decided to skip the pasta angels and the pasta snowflakes. Our final line up is this: Feathery Snow Angels, Child Drawn Fabric Ornaments (more on those soon,) Animals in Winter, and Woven Cookie Stars.

Here's the problem, though . . . the SNOW. We are literally having a blizzard here in Luxembourg. A blizzard, people. It has been snowing heavily all day. That on top of the 4-5 inches that were already on the ground. The airport is closed. People are shut into their houses. It is pretty amazing. I have my doubts if there will be much driving tomorrow. Hopefully we can fit it in before the 24th.


Friday, August 20

Rainy Days are Over

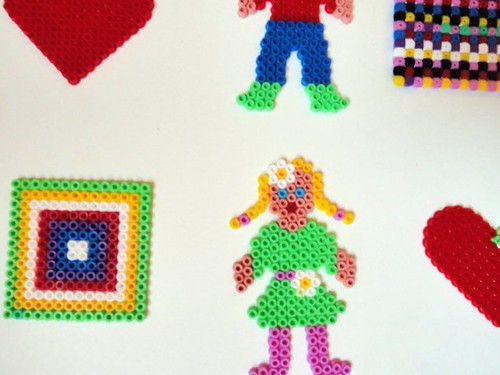
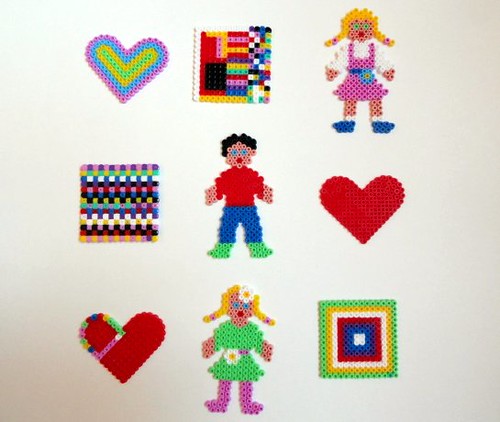
Hama Projects
Thank goodness! But the weather upon our return to Lux was horrible. Fall-like. Rainy, gray, cold. I thought summer had officially gone. Ah, it was back today and we didn't waste a second of it.
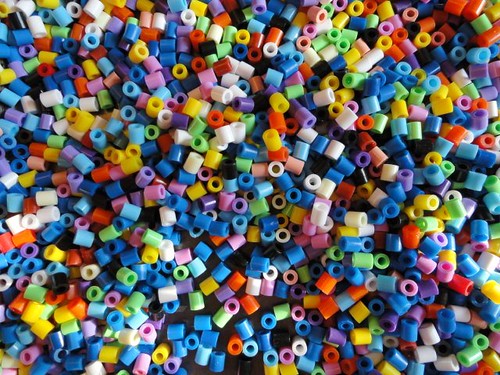
Hama Beads
During those rainy, dark days when we were fuzzy and tired from jet-lag, the girls really got into these HAMA beads. Have your kids tried these? They are a great quiet activity. I bought Eva a pack a few years ago and she was really too young to get into them. She was re-acquainted to HAMA by her Auntie Lena on our trip to Seattle. We picked up a few packs here in Lux and the girls have really been enjoying them. Hama Projects
Wondering how we spent our first sunny day back in Lux? Check back tomorrow!

Related Posts Plugin for WordPress, Blogger...