


 Now I've got to fast track my plans to make a tooth pillow. I mean I don't have to. I want to. My mom made one for me. I've done a bit of searching this evening to gather inspiration for Eva's pillow. I love the hand stitched pillow above from Stitchado. Don't you? It has a little pocket sewn onto the back for the tooth.
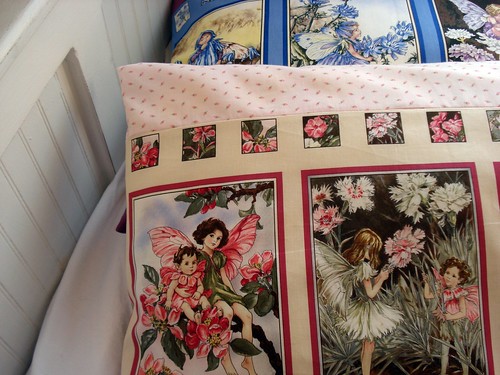


 I think the girls will really dig these - a secret little pocket for love notes. Come on! Who wouldn't want one?! Maybe I'll make a family set, so we can all send sweet thoughts to each other. Ha! Now to come up with a special Valentine to tuck into the pockets. Not loving the wide eyelet I used on the "love" pillow. I prefer the red trim. I am, however, proud of myself for using what I had on hand.
 I didn't prepare a proper tutorial for you all. I made these in such a frantic rush of excitement. (Ya know how it is when you have an idea and you just can't wait to see how it turns out). Here are a few tips though. I wouldn't leave you hanging . . .
  On the back I used this 70s fabric I found on ebay awhile a go. Perfect, no?

 To make the fabric easy for the girls to draw on, I back it with freezer paper. You can buy it in the grocery store (in The States, anyway.) After the pictures are finished, peel off the freezer paper. I cut the pictures out leaving a pretty large margin around them (well, as large as I can.) Lastly, sew, stuff (my oldest did the stuffing) and you're finished.
 I know, I know this was supposed to be a post about Italy, but I had to break into real time for a moment. Don't worry, you'll get your Italy. It's all set to go. Have a relaxing Sunday.
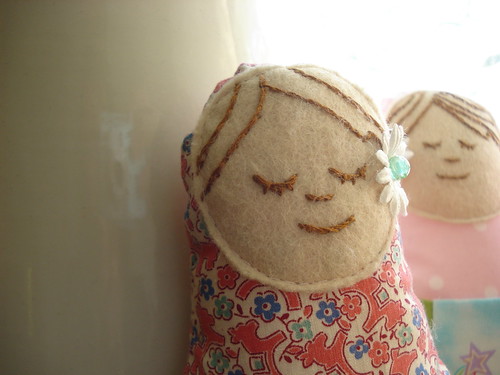
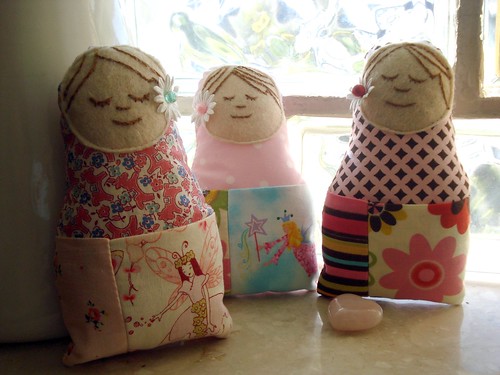
 This is Stacey's
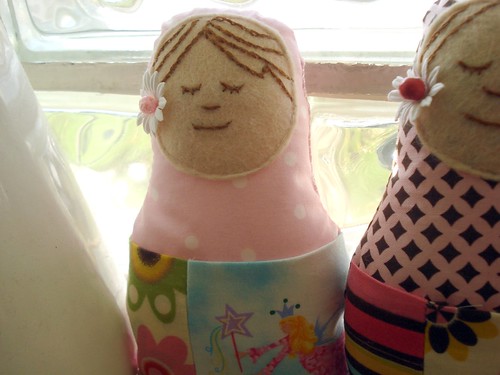
 This is Bridget's
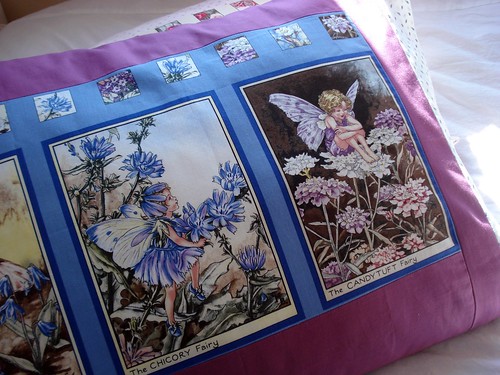
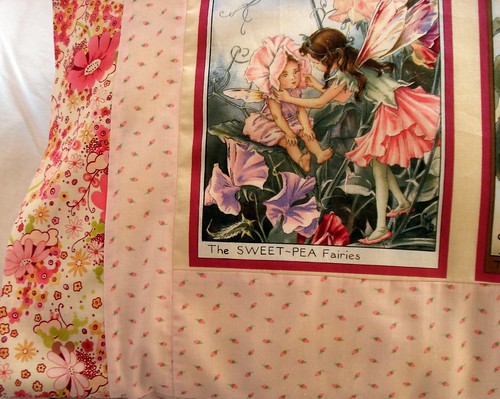
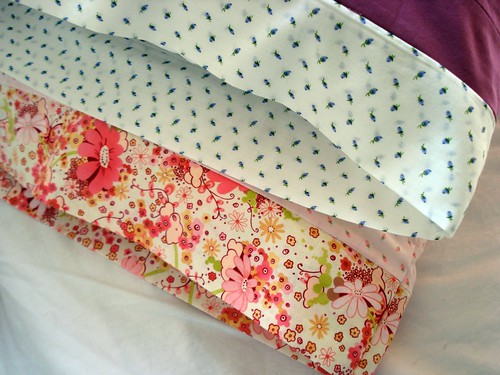
 Gave another tutorial from Pink Penguin a try. This is called a Fabric Basket. It also was a great pattern; simple and very forgiving. I think I'm going to use these for the girls' Easter Baskets this year. They each have an official Easter Basket that the bunny fills each year but they are a little on the big side. I'd like to try and reign it in while they are young. However, these baskets are a tad too small. We'll see. They are going to be the girls one way or another. I found that cute fairy fabric at Joann's a few years ago. It was in the remnants bin. I bought as much as they had. Glad to have found a use for some of it.
  So, what are you serving for Easter Dinner? I'm making a traditional American Easter dinner - ham, scalloped potatoes, asparagus, and hot cross buns. Also throwing in a fruit salad for good measure. We're having some friends over who are also expats here in Luxembourg. They have 2 girls too. The weather is supposed to be sunny so it looks like the Bunny will be hiding some eggs in our back garden! I'm really looking forward to Sunday. Hope you've got a special day planned too. Happy Easter!
 Thanks to Audrey, Jennifer and my mom for helping me get the cinching thing right. I'm happy to report all of my bags, including my most recent 2, are cinchers! Here are the 2 new ones I made. This light pink one is for Eva. I used the rest of the sparkly butterfly fabric in the bag. I kept the bag in pastel pinks to keep with her current princess, fairy, ballerina, all 3 at the same time, magical, fairy tale phase. It's an entertaining phase, that much is for sure. Last week she looked at me seriously and asked, "Mom, do you think I'm graceful?" Where do they come up with this stuff?
 Pink Penguin has a flickr group for projects made from her tutorials. Take a look through it. There are some inspiring pieces in there. I also found another flickr group called, Nothing but Scraps. Good ideas to be found there too.
 I'm still really into making bags. Have you made one yet? This one is really tempting me. Wouldn't it be a cute Easter Basket?
 It sure is. Another reversible patchwork bag, 2 more almost done. These are fun to make, people. Give it a try. I used 4 inch blocks for this one. It finished at 13.5 inches square. It's a nice size. This one is going to one of Eva's friends who is turning 5 at the end of the month. I'm going to put a few books inside. For the inside of this bag I used a piece of poly-cotton my mom gave me. I think it's from the 1980s. Isn't it sweet? It feels so soft, like a comfy nightie or PJs. I am having a slight problem, though. I can't get my bag to cinch. When I pull the cords it does nothing. Anyone know how to make the cords cinch the bag shut?
 Ready for some fun? I am! I'm also ready to free myself from my many, many bags of fabric scraps. It's a joke that I've held onto these for so long. I even moved them to Europe. It's ridiculous. I tried to throw them away, just to move on, lighten the load. I ended up taking them out of the garbage and putting them in the pile of things to be moved to Lux. It's a sickness, really. So here I am scraps and all.
 I'll announce the first project tomorrow! It'll be a super fun one, trust me. So, go look through your stash. Go uncover all the bits and pieces you just couldn't part with. Now is the time. I hope you'll join me.